Add an attachment
Documents can include attachments to files or URL links to websites (or generally any object that has a URL). A file attachment can be created as a link to a file system location, or as a full copy of the file that is stored in the Planning Space tenant database.
Right-click inside an attachment element and select Add Attachment, or click the
Add button  in the Attachment tab on the ribbon.
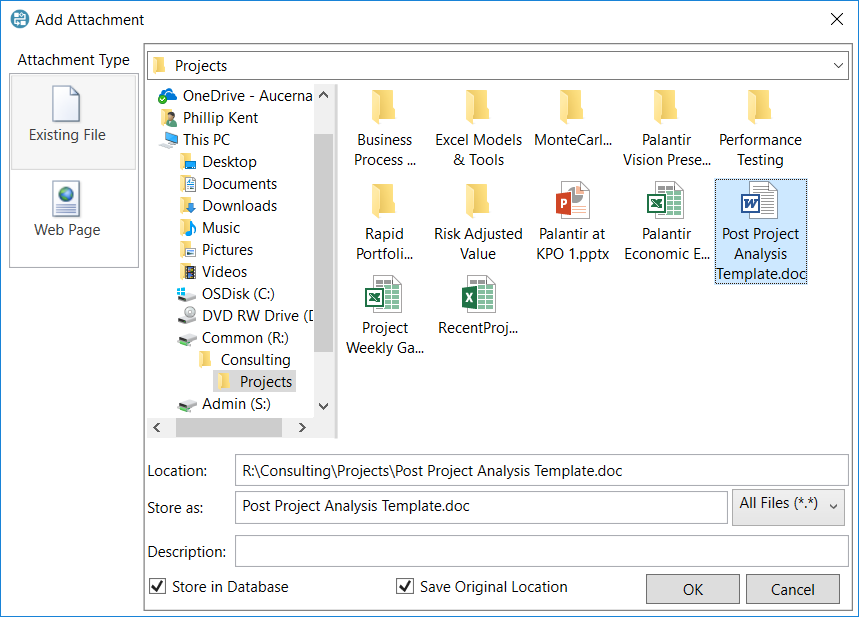
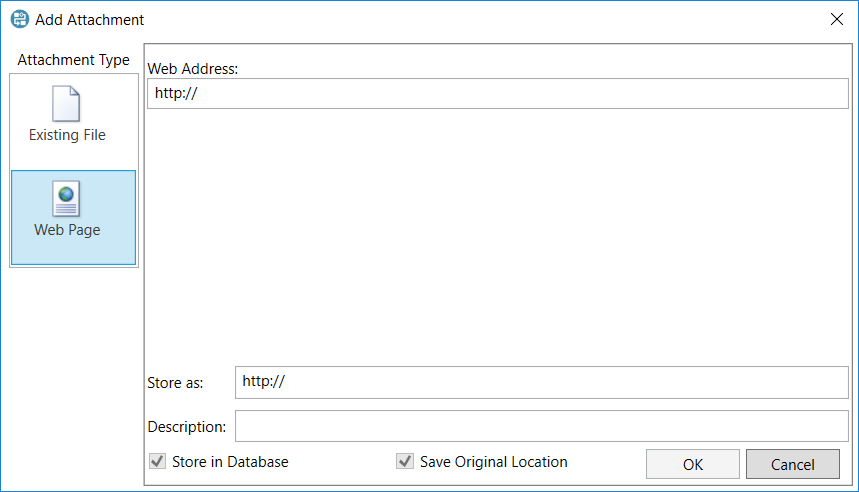
The Add Attachment dialog will open.
Important: Attachment file types are restricted to a 'whitelist' of allowed types. Files are inspected during uploading and will be rejected if invalid contents are detected for the specified file type. There is also an upload size limit of 10 MB. See Attachments.
Bulk uploading of attachments can be performed using the Complex Attachment Loader, see Complex Attachment Loader. (The Loader does not perform attachment checking or use the whitelist to restrict allowed file types.)
Existing File attachment
- Click the Existing File button on the left of the dialog.
- Use the file explorer to locate the file that will be attached, and select the file.
- The Location and Store as fields will be automatically filled in. You can modify the name in Store as.
- (Optional) Add any description text in the Description field.
- To create only a link to a file system location: the Store in Database box should be unchecked.
- To create a full copy of the file inside Planning Space: the Store in Database box should be checked. Check the Save Original Location box to create a record of the original file system location of the file.
- Click OK to create the new attachment item.

Note: Files larger than 10 MB in size cannot be uploaded and stored in Planning Space, however a 'link' attachment can be created for any size of file.
Note that a link-type attachment will be usable only if its file system location is accessible from any computer where you or another user will be running the Planning Space client program (otherwise you will get a 'File not found' error).
Web Page attachment
- Click the Web Page button on the left of the dialog.
- Type or paste a URL into the Web Address field.
- (Optional) You can modify the text in the Store as field, which will appear as the text for the hyperlink in File Name.
- (Optional) Add any description text in the Description field.
- Click OK to create the new attachment item.

Double-clicking a Web Page attachment will launch a browser on your computer to open that URL.
